the Samsung Galaxy Grand Prime Plus G532F is an entry-level Android smartphone released in November 2016. It has a 5.0-inch IPS LCD display with a resolution of 540 x 960 pixels, a MediaTek MT6737T quad-core processor, 1.5GB of RAM, and 8GB of internal storage. It also has a rear-facing 8MP camera and a 5MP front-facing camera. The phone runs on Android 6.0 Marshmallow.
some of the key features of the Samsung Galaxy Grand Prime Plus G532F:
- 5.0-inch IPS LCD display
- MediaTek MT6737T quad-core processor
- 1.5GB of RAM
- 8GB of internal storage
- 8MP rear-facing camera
- 5MP front-facing camera
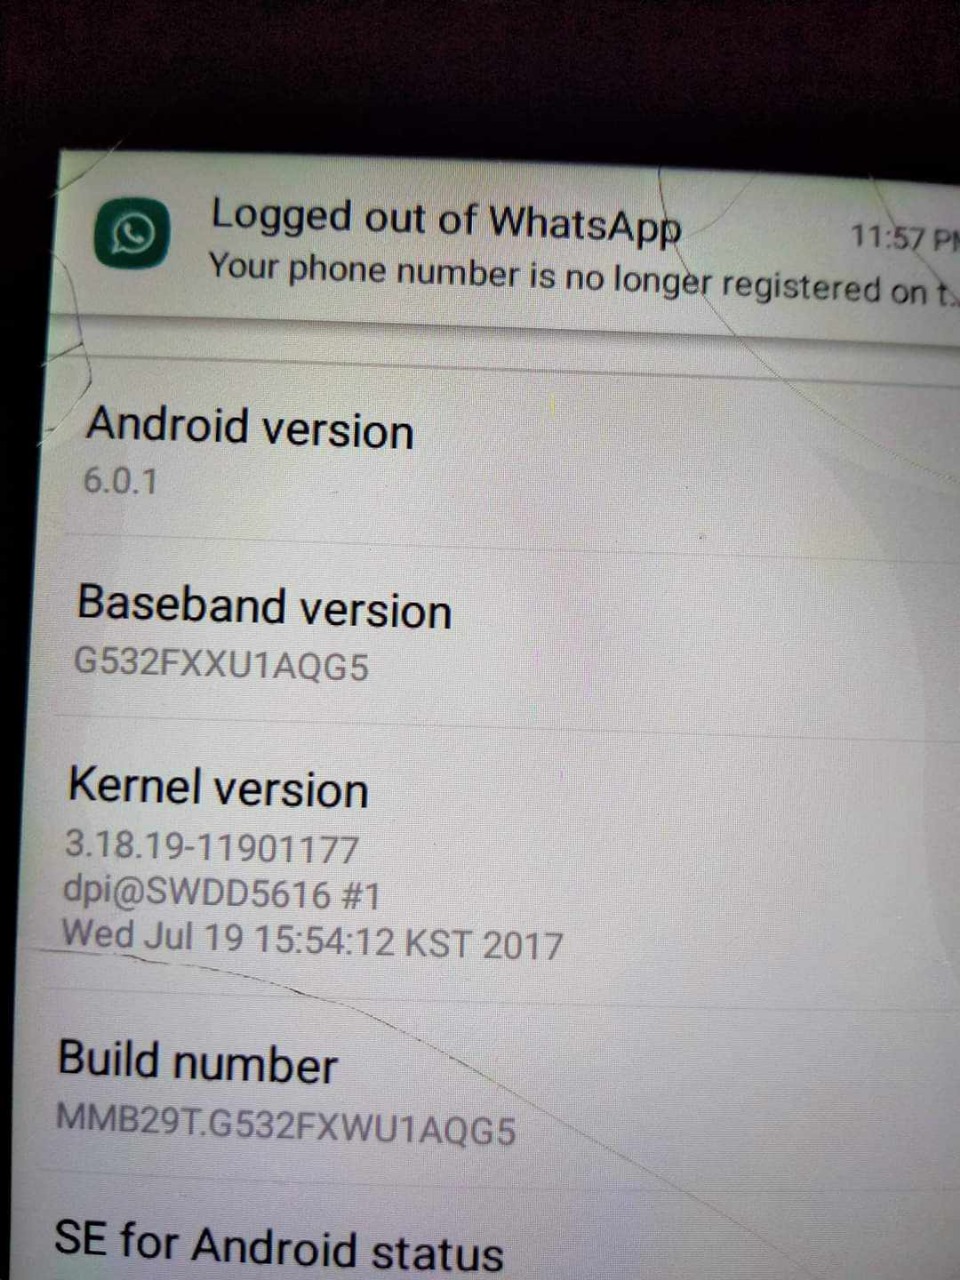
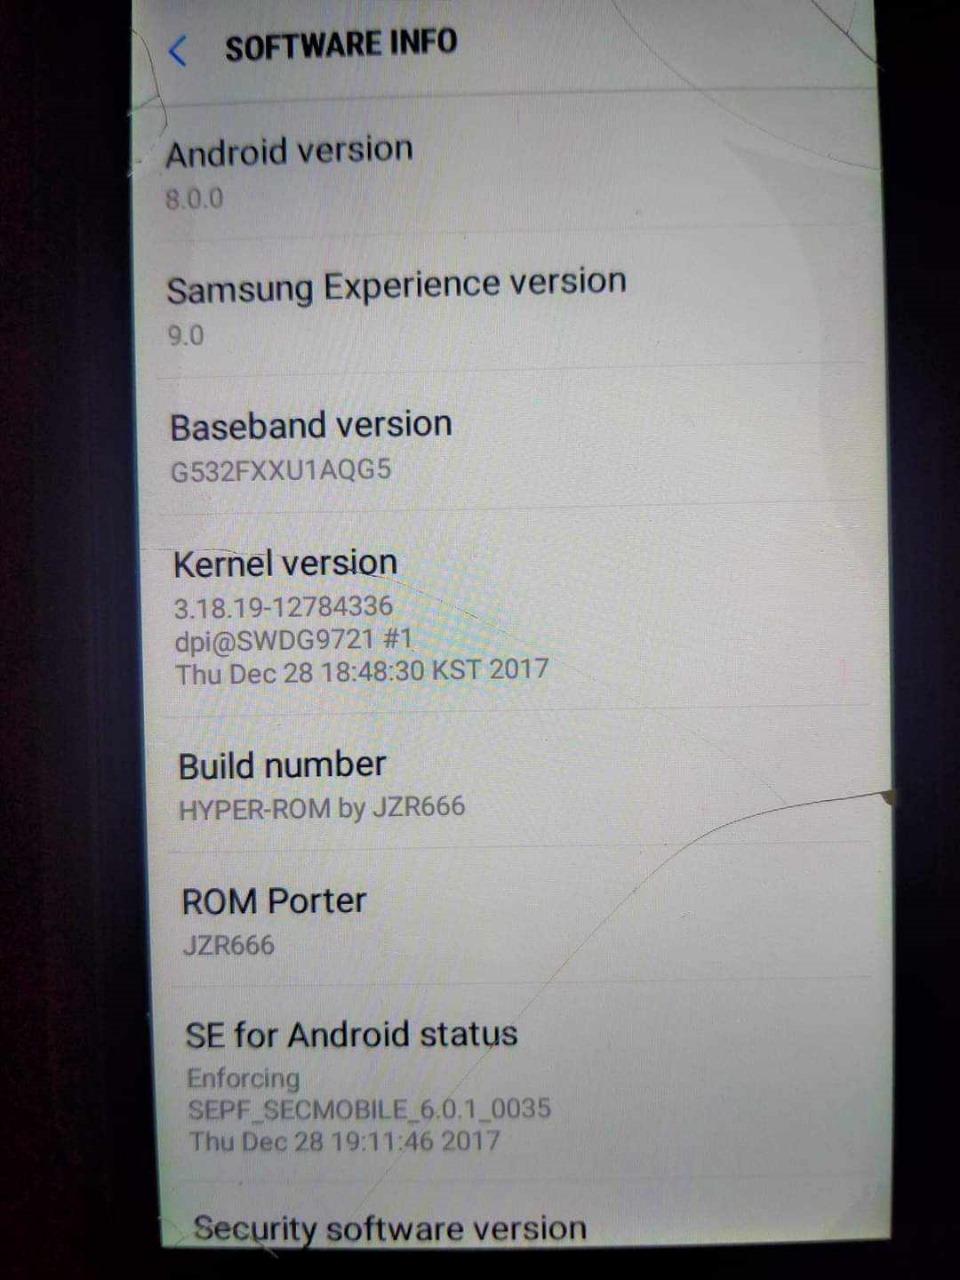
- Android 6.0 Marshmallow (This file can upgrade your version to 8 )
How to Flash Samsung by ODIN tool?
Flashing a Samsung device using Odin is a common method to install firmware, recoveries, and other system modifications. Here’s a step-by-step guide on how to flash a Samsung device using Odin:
1. **Download Required Files:**
– Download and install Samsung USB drivers on your computer. These drivers are necessary for your computer to recognize your Samsung device.
– Download the specific firmware intended for your Samsung device model. Ensure it’s compatible and meant for flashing through Odin.
– Download Odin flashing tool compatible with your computer’s operating system.
2. **Extract Firmware:**
– Extract the firmware file you downloaded earlier to a location on your computer. The firmware file typically comes in a compressed format like ZIP or RAR.
3. **Install Samsung USB Drivers:**
– Install the Samsung USB drivers on your computer. Follow the installation instructions provided by the driver package.
4. **Launch Odin:**
– Open Odin flashing tool on your computer. It’s typically an executable file (.exe).
5. **Boot Device into Download Mode:**
– Power off your Samsung device.
– Press and hold the required button combination to enter download mode. This combination may vary depending on the device model, but commonly involves holding the Volume Down, Power, and Home buttons simultaneously.
6. **Connect Device to Computer:**
– Connect your Samsung device to your computer using a compatible USB cable while it’s in download mode. Odin should recognize your device, and you should see an “Added!” message in Odin’s log window.
7. **Load Firmware:**
– In Odin, click on the “AP” or “PDA” button (depending on Odin version) and select the firmware file you extracted earlier. The firmware file usually has a .tar.md5 or .tar extension.
8. **Start Flashing:**
– Ensure that only the “Auto Reboot” and “F. Reset Time” options are checked in Odin.
– Click on the “Start” button in Odin to initiate the flashing process.
– Odin will begin flashing the firmware onto your Samsung device. The progress will be displayed in Odin’s log window.
9. **Flashing Completion:**
– Once the flashing process is complete, you should see a “PASS!” message in Odin’s log window.
– Your Samsung device will automatically reboot. You can now disconnect it from the computer.
10. **Boot Device into System:**
– Your Samsung device may take a while to boot up for the first time after flashing. Allow it to complete the boot process.
11. **Final Checks:**
– After booting up, perform a factory reset on your device for optimal performance.
– Verify that the device is functioning correctly and that the new firmware has been successfully flashed.


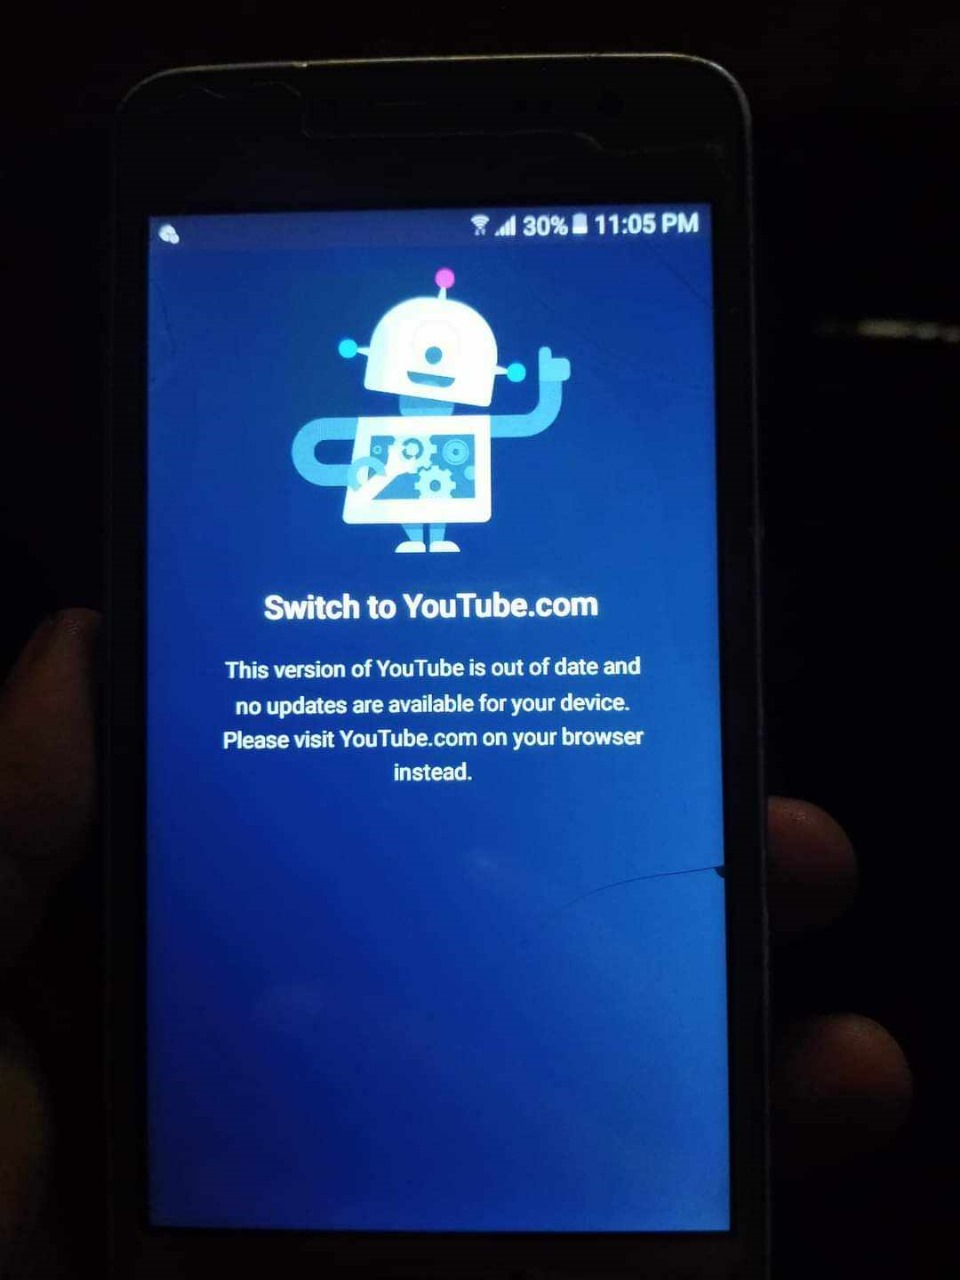
Download How to Upgrade latest version of Samsung Galaxy Grand Prime Plus G532f which fix youtube apps
How to Upgrade latest version of Samsung Galaxy Grand Prime Plus G532f which fix youtube apps
Join Our Telegram Group. If you have any problems then comment below or message us. We try our best to help you. If you found this post and our site helpful then Dont forget to like and share our page.
Please Follow these Before Flashing :
▶️ Disclaimer: Firmware flashing is not an easy process and should be carried out only if you have enough knowledge. We are not responsible for any damage/ dead to your device.
▶️ Take a Backup: If you are going to flash the above firmware on your Lava device, then make sure to take a backup of your data as it will be deleted after flashing the stock firmware.
▶️ Download and Install the Proper Drivers and Tools required before flashing.
▶️ If You Need Any Other Firmware or Flash File, Let Us Know.


